How to Automate Windows Installations (Bypass OOBE & Local Accounts)
If you work in IT, manage a business network, or even just build a lot of PCs at home, you know the pain of the modern Windows installation process.
Clicking through the Out-of-Box Experience (OOBE), declining endless privacy tracking prompts, fighting the system to let you use a standard Local Account instead of a Microsoft Account, and manually uninstalling bloatware takes up way too much time.
At ITGOIT, our technicians deploy Windows on dozens of machines weekly for our business clients. To speed up our workflow, we needed a reliable way to automate this process. Enter the autounattend.xml file.
we’ll show you how to completely automate your Windows 10, Windows 11, and Windows Server installations using our custom-built tool from the ITGOIT Playground.
What is an autounattend.xml file?
Windows Setup is designed to look for an answer file named autounattend.xml in the root directory of any removable media during boot. If it finds one, it reads the instructions inside and skips the manual prompts.
With the right answer file, you can:
- Bypass the OOBE completely.
- Automatically wipe and partition the hard drive.
- Create a local administrator account (bypassing the Microsoft Account requirement).
- Remove pre-installed bloatware and sponsored Store apps.
- Apply registry tweaks (like restoring the classic right-click context menu in Windows 11).
The Solution: The ITGOIT Autounattend Generator
Writing these XML files by hand is a nightmare of syntax errors. To solve this for our own team, we built the ITGOIT Autounattend Generator.
We’ve made it publicly available on our Playground so you can use the exact same tool our sysadmins use.
Key Features of our Generator:
- Visual Interface: Easily configure your region, keyboard layouts, and timezones.
- Deep Customization: Toggle visual effects, disable search annoyances, configure Microsoft Edge start pages, and wipe/format disks automatically.
- VM-Friendly ISO Export: While most tools just give you an XML file, our generator allows you to download an
.isofile. This is perfect for Virtual Machines (Proxmox, VMware, Hyper-V, VirtualBox) using the "Two-Disk Strategy" without needing to inject files into the main Windows ISO. - Custom Scripts: Inject your own PowerShell or CMD scripts to run automatically during setup.
How to use it
Using the generated file is incredibly simple, whether you are deploying to physical hardware or a virtual machine.
Method 1: Physical Hardware (USB Flash Drive)
- Go to the Autounattend Generator, configure your settings, and click Download .xml.
- Create a standard bootable Windows USB installer using the Microsoft Media Creation Tool.
- Copy the
autounattend.xmlfile directly to the root folder of that USB drive (e.g.,D:\autounattend.xml). - Boot the computer from the USB drive. Setup will do the rest!
💡 Pro-Tip for Rufus Users: If you use Rufus to create your bootable USB, make sure to uncheck its "Extended Windows User Experience" options. Rufus tries to inject its own basic answer file, which will conflict with the advanced one you just generated!
Method 2: Virtual Machines
Virtual Machines can't easily read standalone files from your host PC during boot. Instead of rebuilding the Windows ISO, simply use our Download ISO button.
Attach your standard Windows ISO to the primary CD/DVD drive in your hypervisor, and attach the autounattend.iso to a secondary CD/DVD drive. Windows will scan all attached drives, find the answer file, and automate the VM setup.
Alternatives
We built our generator to suit modern IT workflows, but it’s not the only way to get the job done. If you want to explore other methods, we recommend:
- Microsoft Windows System Image Manager (WSIM): This is the official tool from Microsoft, part of the Windows ADK. It gives you 100% control over every possible Windows parameter, but it has a very steep learning curve and feels quite dated.
- Schneegans Unattend Generator: If you've been searching for answer files, you may have come across the Schneegans generator. It is a nice community tool with a lot of granular script options. We built the ITGOIT version to offer a slightly more streamlined UI for our specific daily IT needs, alongside the handy
.isodownload feature for our virtualization servers.
A Quick Security Warning
Because automation requires passing credentials to Windows, the autounattend.xml file stores your new Local Administrator password (and Wi-Fi passwords, if configured) in plain text.
Windows Setup usually caches this file at C:\Windows\Panther\unattend.xml. Our generator automatically includes cleanup scripts to attempt to delete these cached files after installation, but if you are capturing this Windows image for mass deployment, always double-check that the Panther folder is clear before finalizing your image!
Ready to automate your setups?
Stop wasting time clicking "Skip" and "No" on every new PC build. Head over to the ITGOIT Playground and try the generator for yourself.
Need hands-on help managing your company's IT infrastructure, server deployments, or workplace management? Contact the ITGOIT team today we provide expert remote and on-site support tailored to your business.
Related content
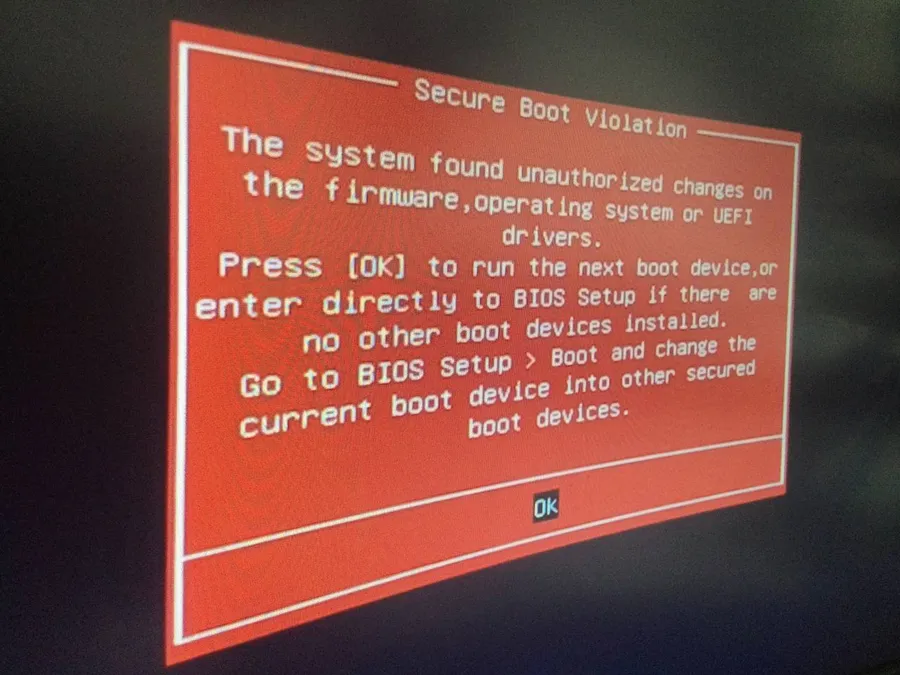
How to Fix "Secure Boot Violation" Error in Windows
Locked out of Windows with a red "Secure Boot Violation" error? Learn why Microsoft's new 2023 certificates are breaking older motherboards and how to easily fix it by updating your BIOS keys.